Widowmaker Shotgun
Prop Build
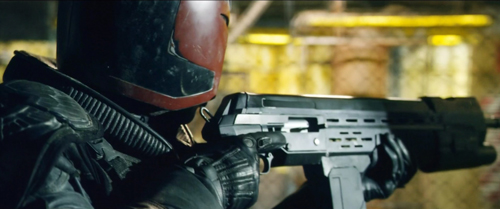
Hey everyone, been awhile since I got anything new up here. Today I bring the speedbuild I did of an as close to screen accurate version of the Widowmaker shotgun from the new Dredd movie.
Reference was hard to come by, with almost no good pictures above 900 pixels wide, not to mention it's barely-there appearance in the movie. Many thanks to the members of the Dredd Costume Group on Facebook for providing more screenshots, as well as helpful feedback in getting the blueprint set to go.
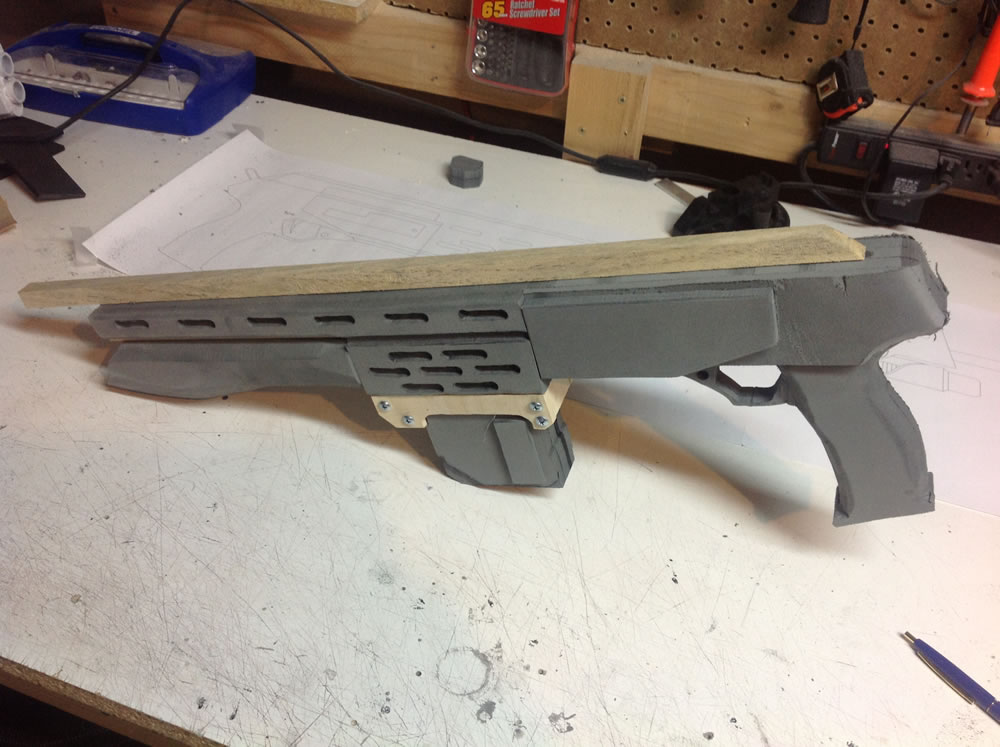
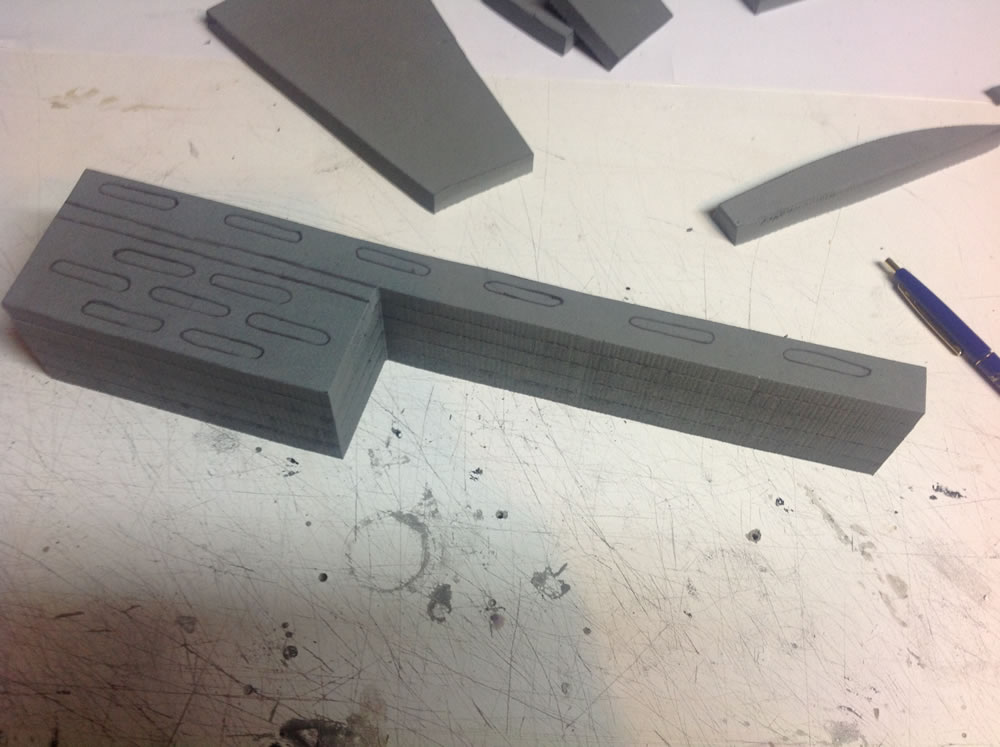
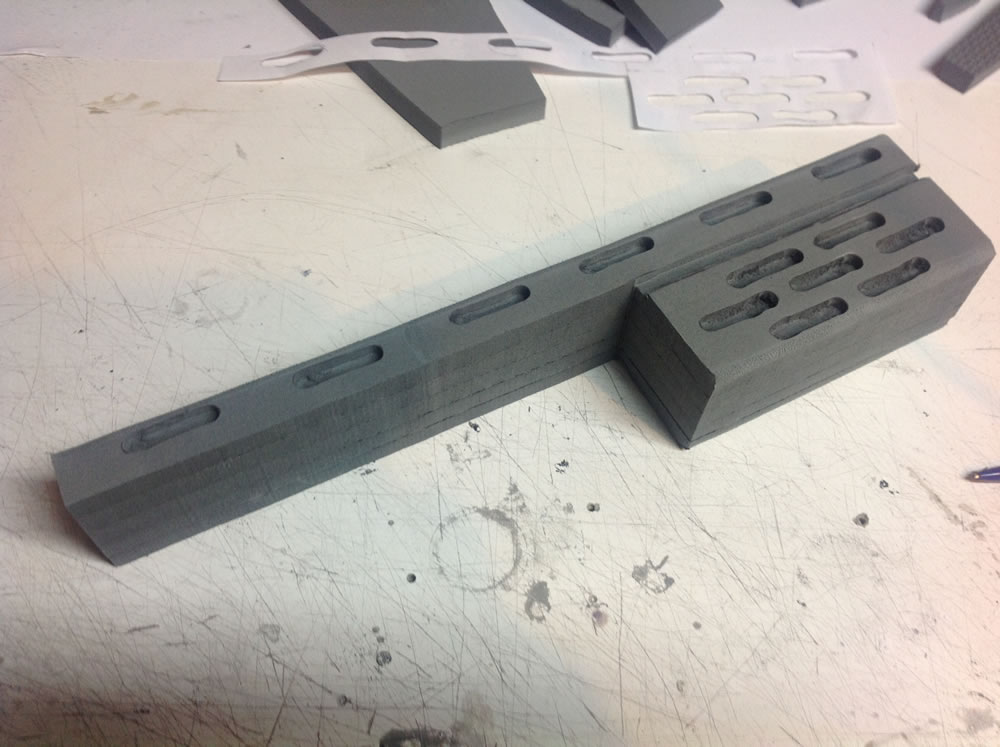
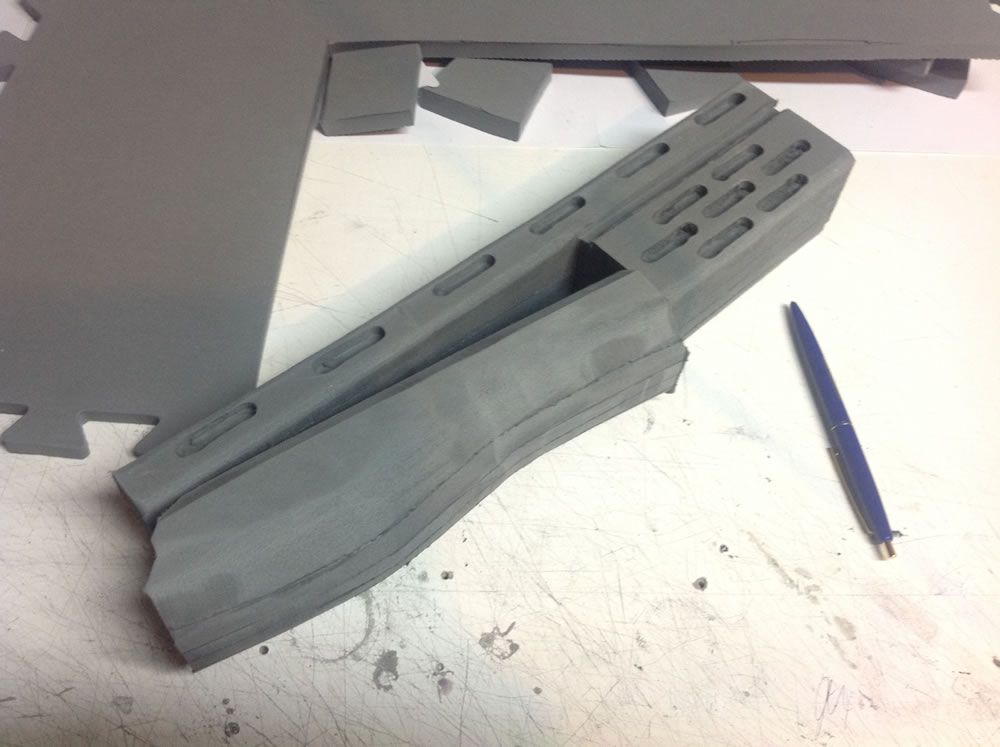
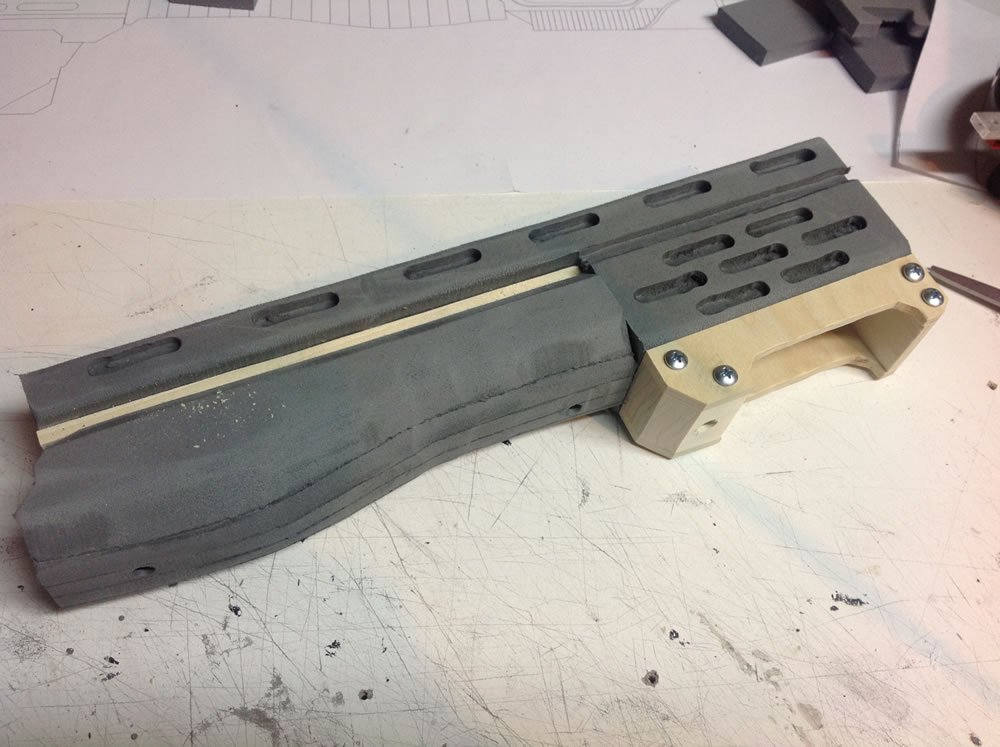
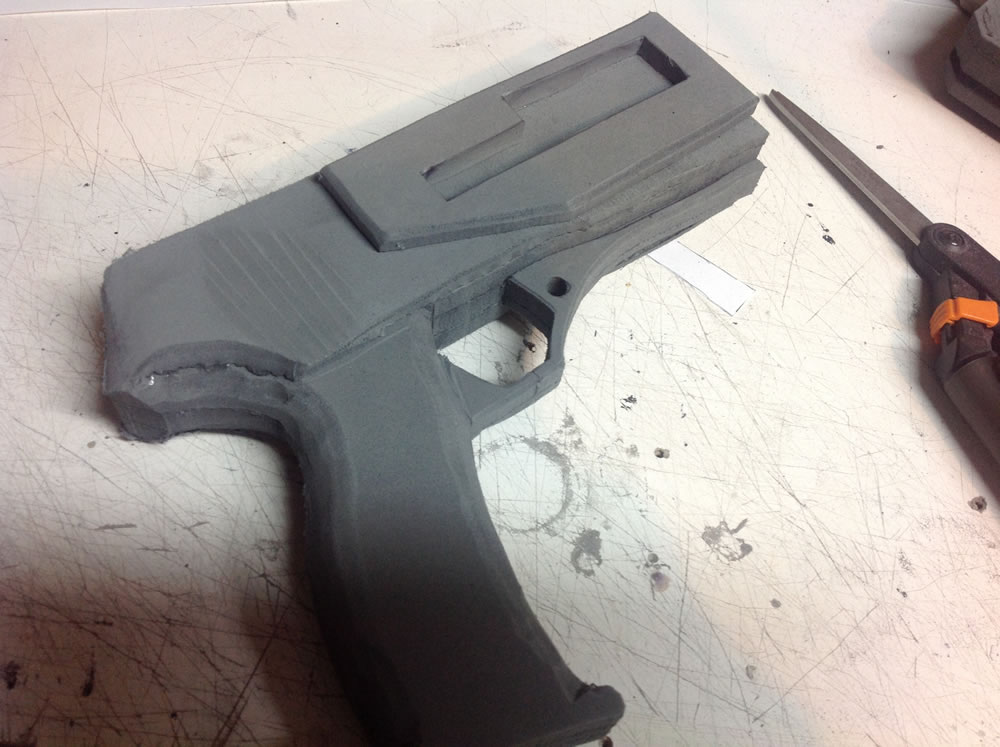
I started off with the main body of the gun, cutting out the shape in 5 layers of EVA. I followed that up with standard operating procedure: careful Dremeling in various depths to get the look I needed. After that, same thing for the grip, assembling six layers of foam. Since the grip needed to be rubberized, not painted, I made sure to leave it removable, placing a piece of wood glued to the body, and screwing into it through the grip. In the past I've had problems with the EVA losing it's grip on screws after many removals and replacements, so now I use wood components on the inside whenever possible. since wood retains it's grip much better.
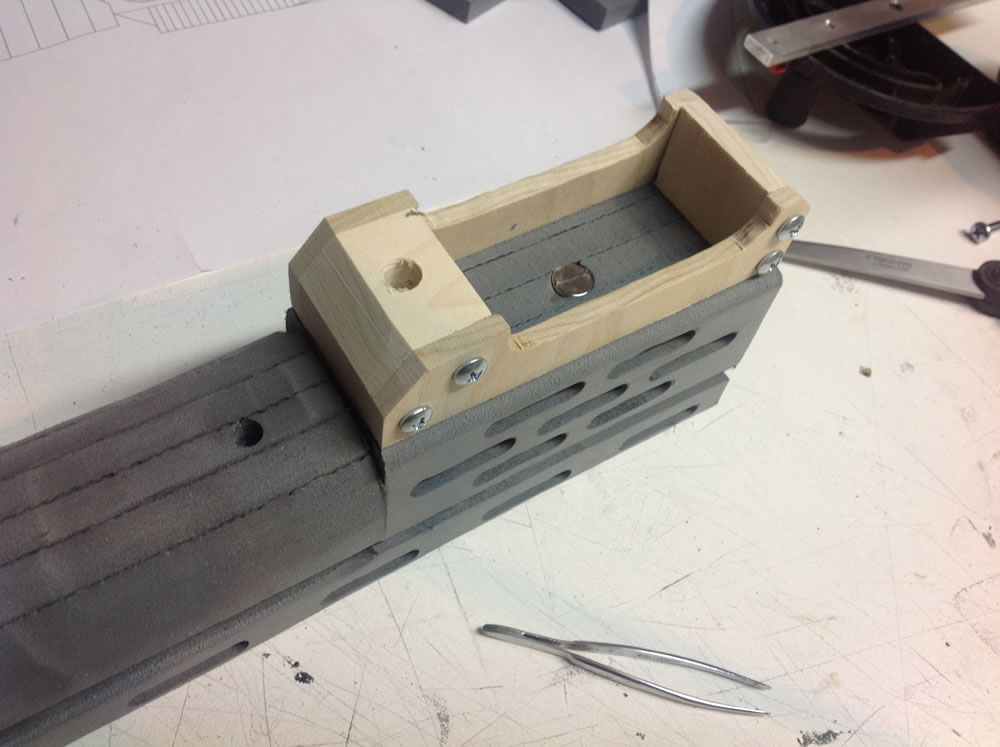
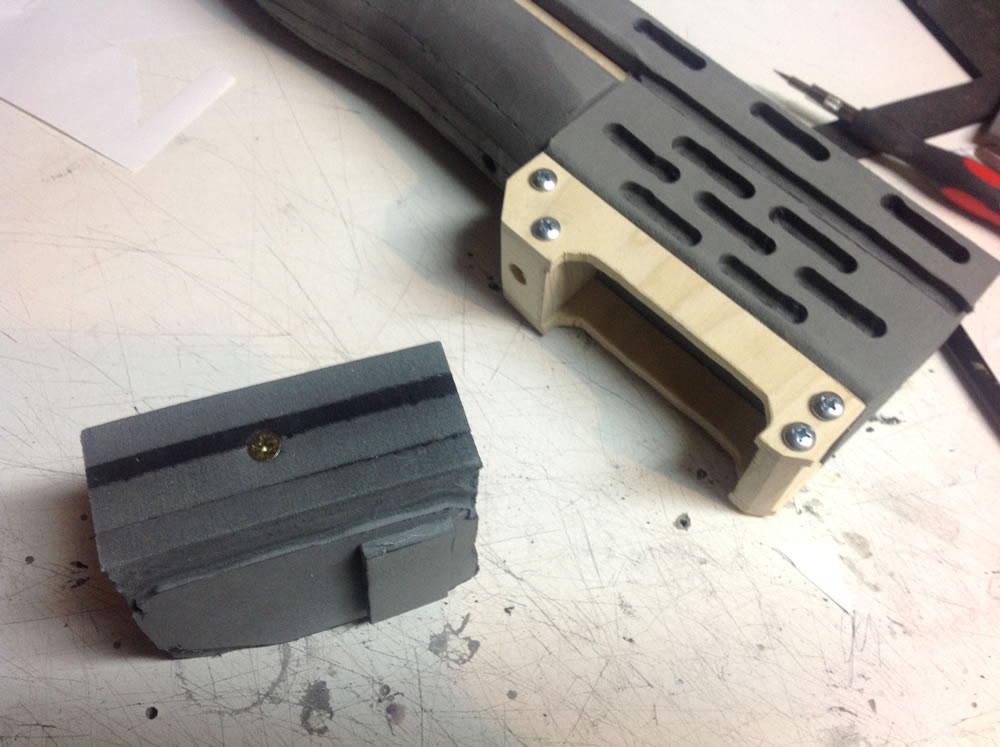
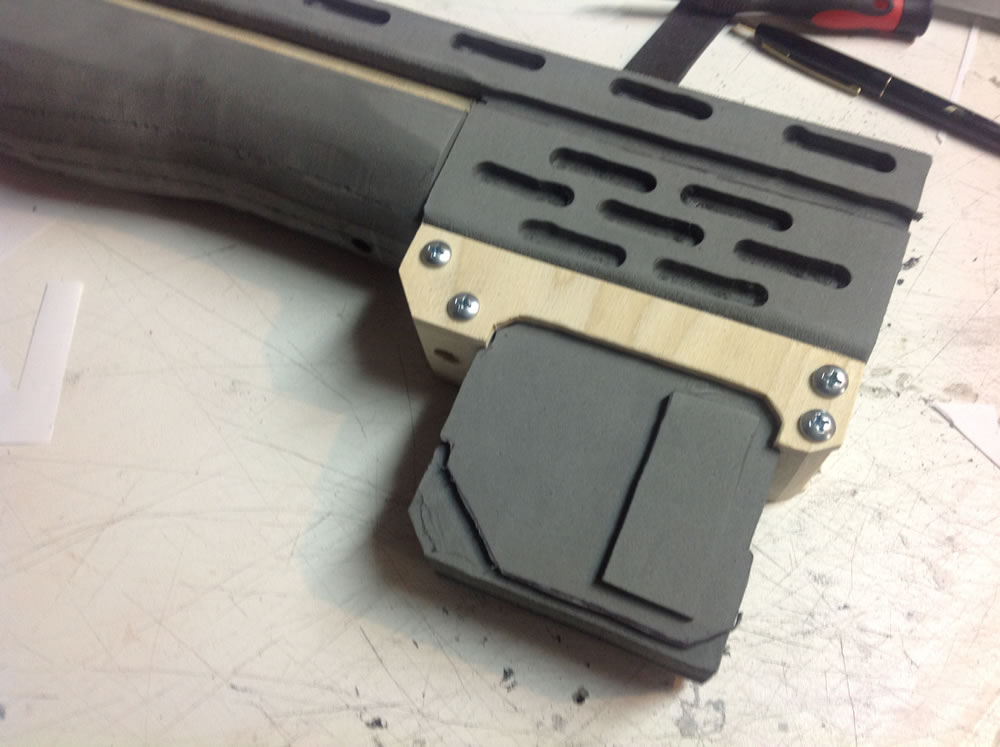
Up next, I tackled the clip receiver, which I elected to build out of wood, both to add weight to the bottom of the gun, and because with the insert and removal action, it would likely be the most abused component of the gun. Unfortunately, I forgot to get pictures while making it. Fortunately, it's not complex. Just two sides and a couple blocks between. Once mounted, I drilled a hole with a 5/8 bit to make room for the magnet, and glued it in.
Up next, ammo clip, three sections of EVA and one layer of craft foam. Carved out the rough shape, then the bottom detail, and set two half-slices of EVA to make those rectangles on the sides. Finally, a screw went into the top to connect with the magnet, and voila, removable ammo clip.
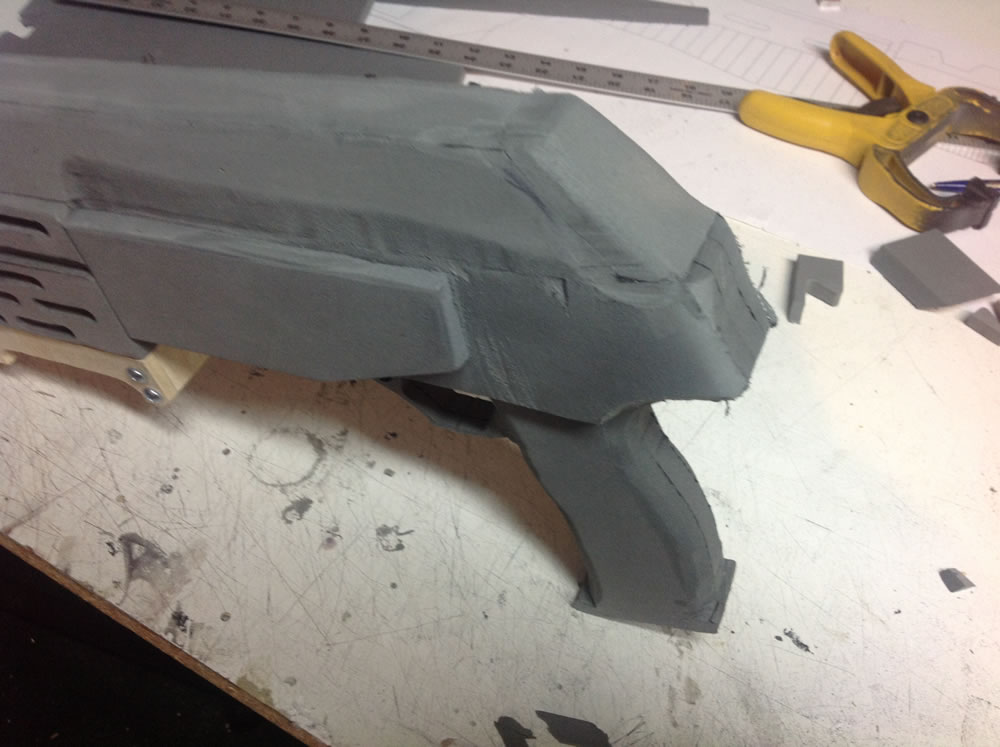
Up next, the pistol grip and shell ejection port. Not much to document, more layering of EVA, slicing of EVA, and gluing of EVA. The main part was done in three layers, and the ejection port and opposing side as an additional layer. Finally, I attached it to the back end.
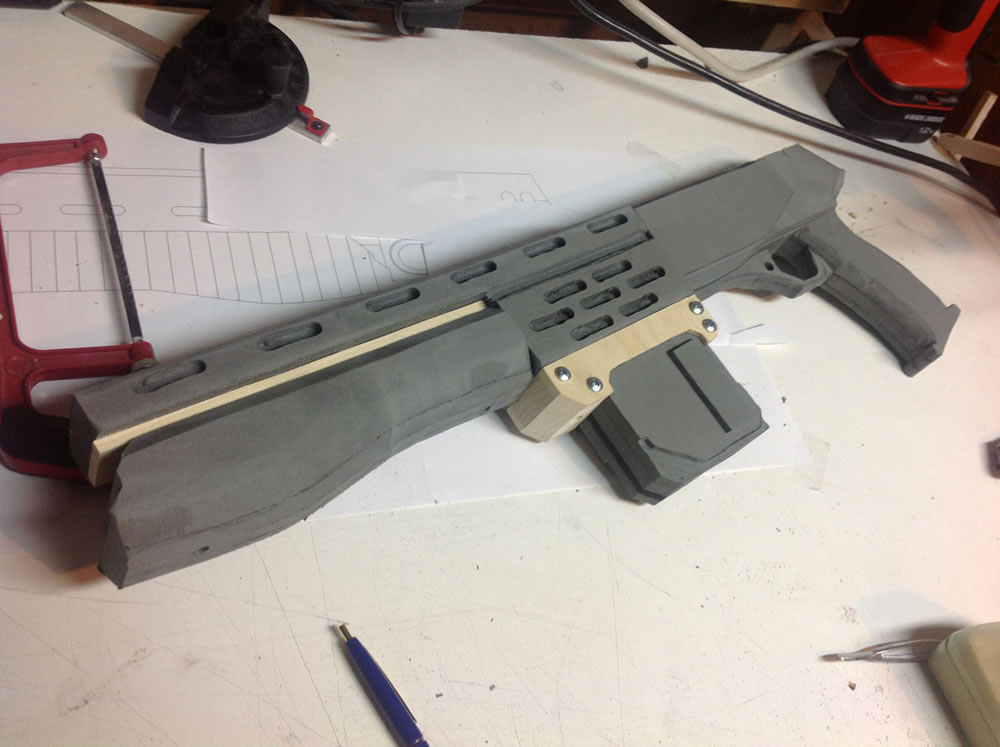
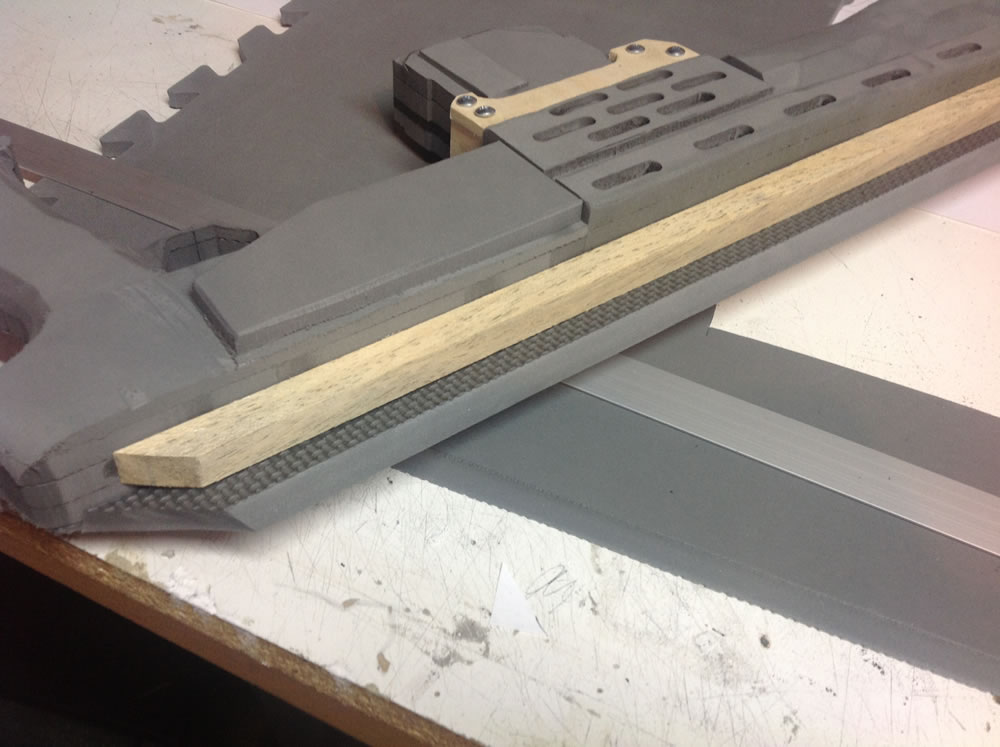
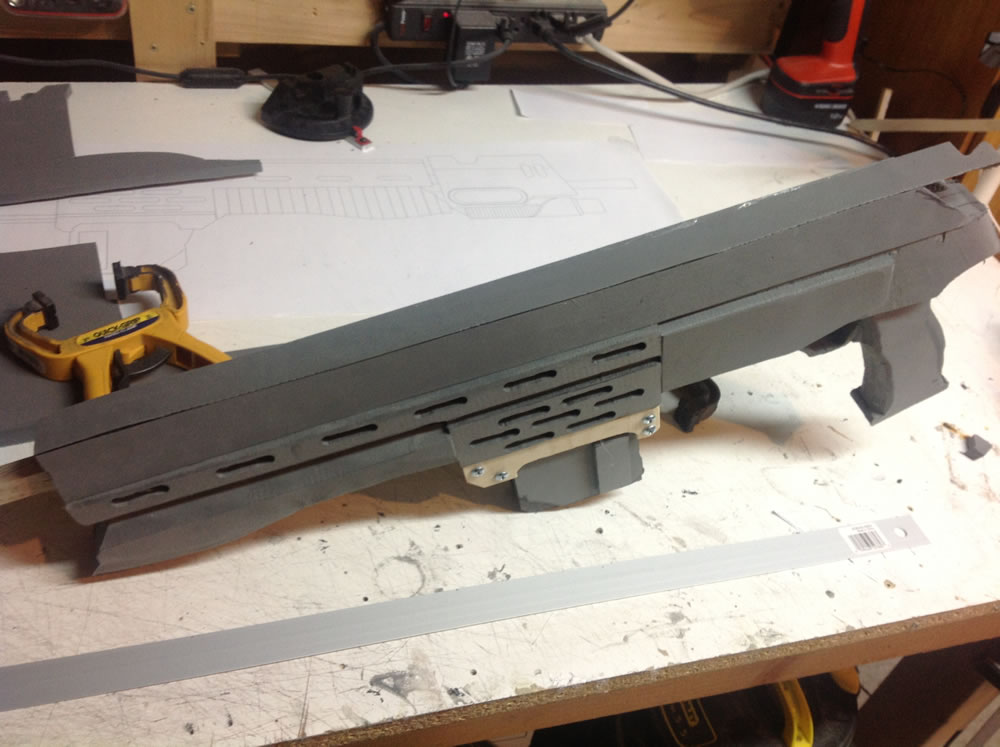
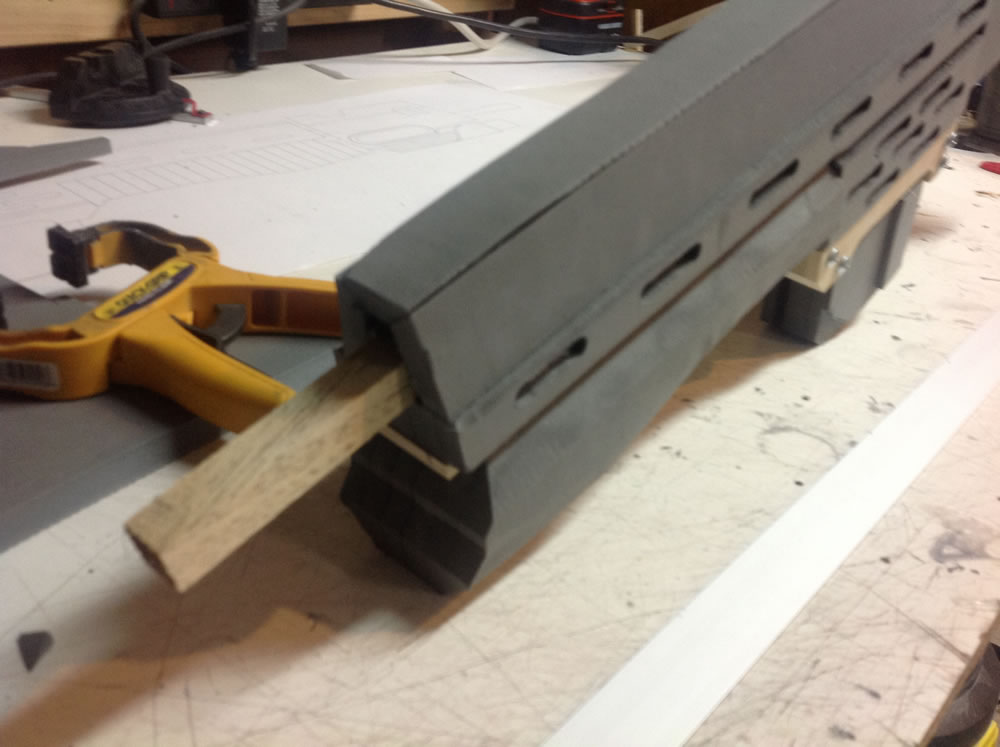
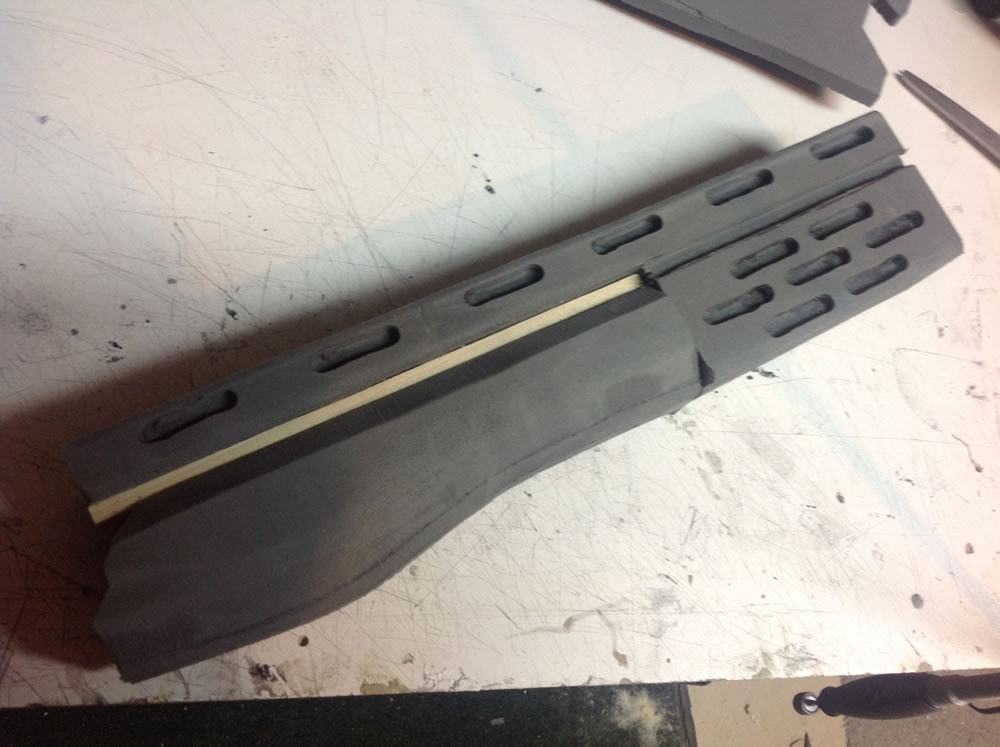
I had to quit for the night, until the next day when I could grab some 3/8 square doweling to act as a "spine" for the gun. I glued it on, leaving excess off the end to hold the shroud and barrel section. After that, three slats of EVA with angle cuts on the long sides. I attached them in a three sided manner. Normally, I tackle this with the layer method, but since this piece occupied so much of the gun, and was at a steep angle, I elected to arrange the pieces at angles instead, for a cleaner look. I'm very happy with the result.