N7 Crusader
Prop Build
Due to the ever encroaching winter weather of my home state, I’m restricted on how much I can actually do in terms of cosplay and props in the winter months (hence why you see more 3D work in the winter, and more costume work in the summer.) That said, I’m not entirely shut down, and I figure ya’ll have waited long enough. :)
If it isn’t obvious yet, I’ll explain the changes; I’ve removed the categories for previous builds. The simple and honest truth is that I get so wrapped up in the project, I forget to post updates. And, in the heated months before the conventions, I’m working so fast that stopping to post updates is a hindrance, not a fun thing to do. So instead, I’ll be doing write-ups like this instead; post-prop, which is more fun, and I think has a far less chance of showing up too short.
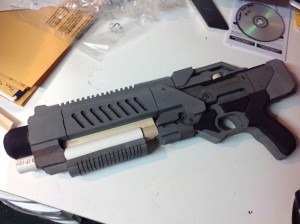
So, without further adieu, let’s get started on the N7 Crusader. For the uninitiated, this was one of the weapons you got in the N7 Warfare Gear DLC available to those who purchased the Limited and Collector’s editions of Mass Effect 3. You can read more about the in-game weapon here, but for now, let’s talk about building one.
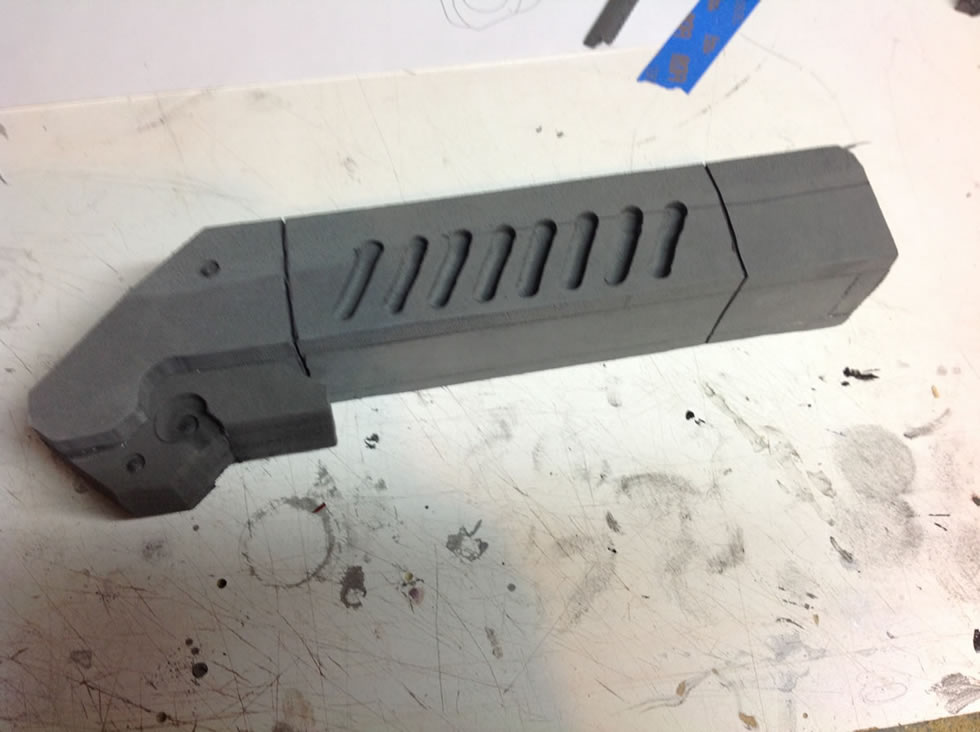
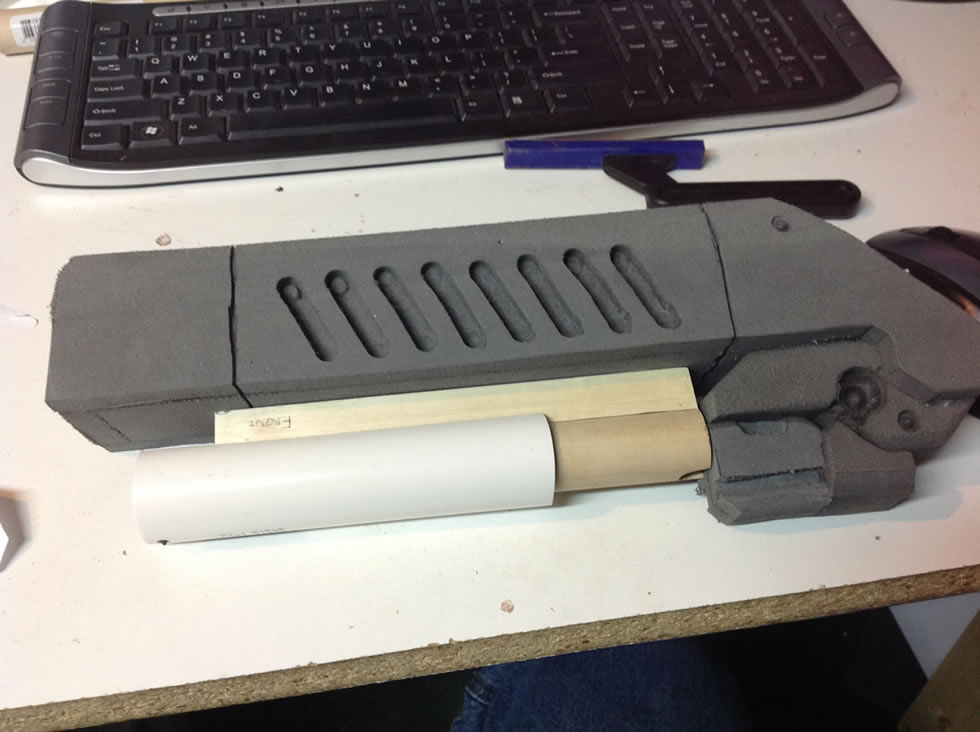
As with most of my weapons, I started at the barrels end, with the chunkiest part of the weapon, which in this case was the main body of the gun. The Crusader has a deceptively simple design, very similar to a common short barreled shotgun of today. Deviating from normal, this one is actually hollow, constructed of walls instead of solid EVA. I’ve found that properly glued, the stuff is just as strong by itself in such a manner as it is when solid, and generally speaking, the seams look better in a wall construction build than the usual sandwich work I do.
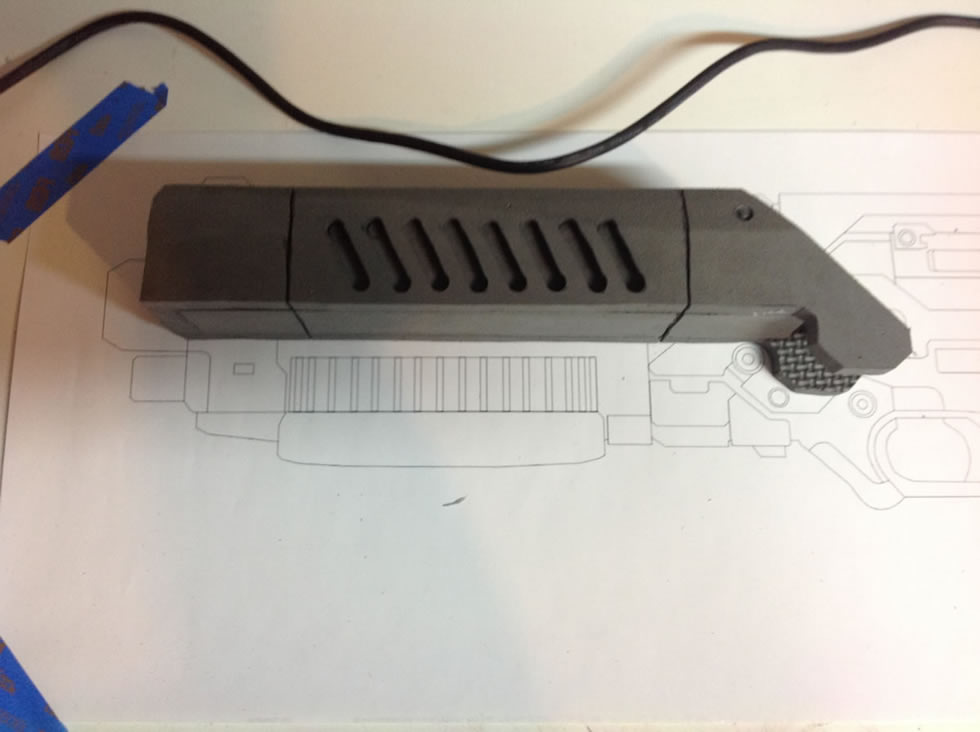
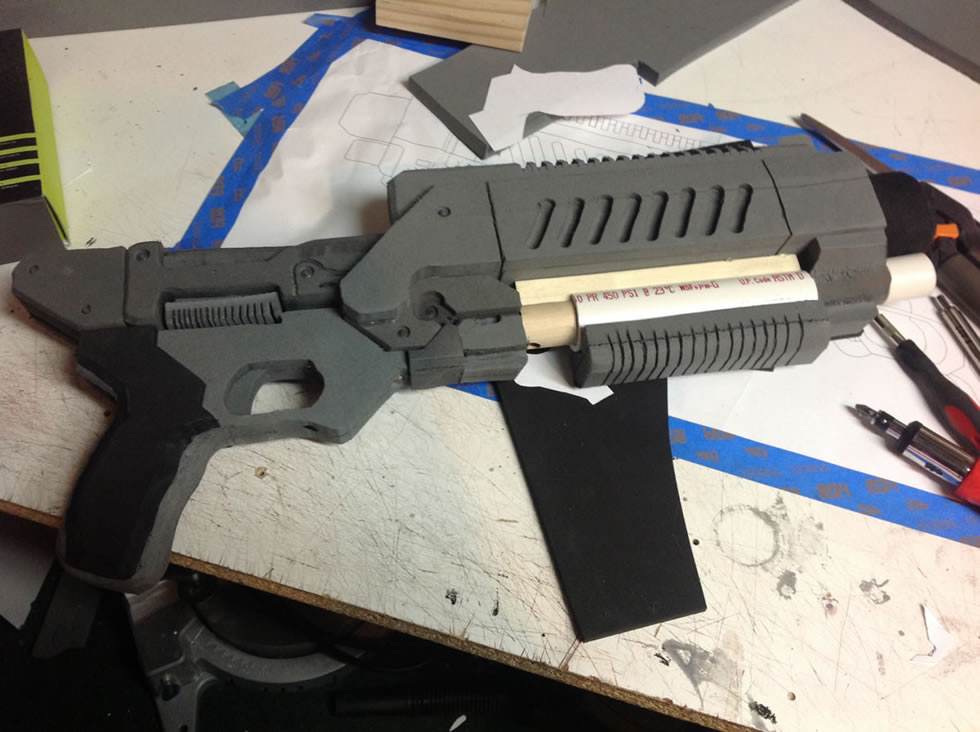
From there, I cut in the trademark heat spreading slats, and then moved onto some of the techy bits underneath the rear of this section. Quite honestly, I thought the Crusader was going to be a cakewalk, but the more you look at the design and start hitting each piece, you realize how complex it really is. Sure, the big parts go together easily, but it’s the smaller parts that throw you for a loop. Over the course of a day, I slowly chewed through each of these sections; each is a different width, and a slightly different construction. The effect is profound though, as it just multiplies the levels of detail you achieve when you spend that little bit of extra time to “do it right,” as it were.
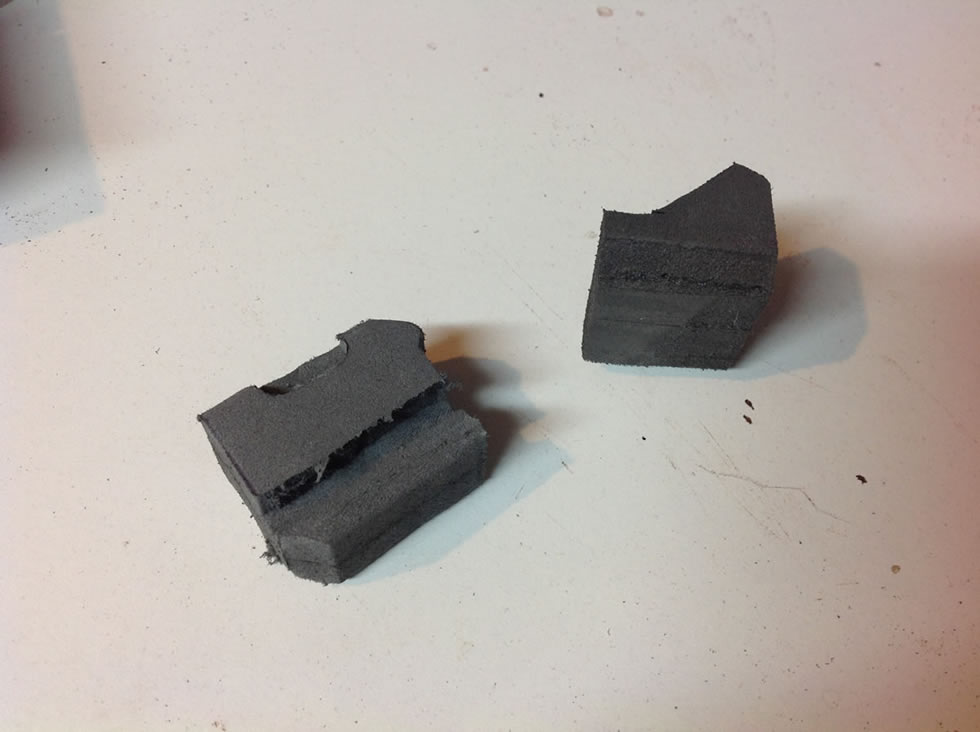

It’s a slow process, but the more I work into it, the more I realize that the time I save by just cutting these out of a single piece is lost in the form of the detail-work The clean corners, especially seen in the segment on the left of the 3rd image, are not possible with the tools I use. There’s no way to drive a round cutting head into a square corner, it’s just not going to happen. Building them as separate objects let’s me get those straight lines and corners, which I think add a lot to the overall look.
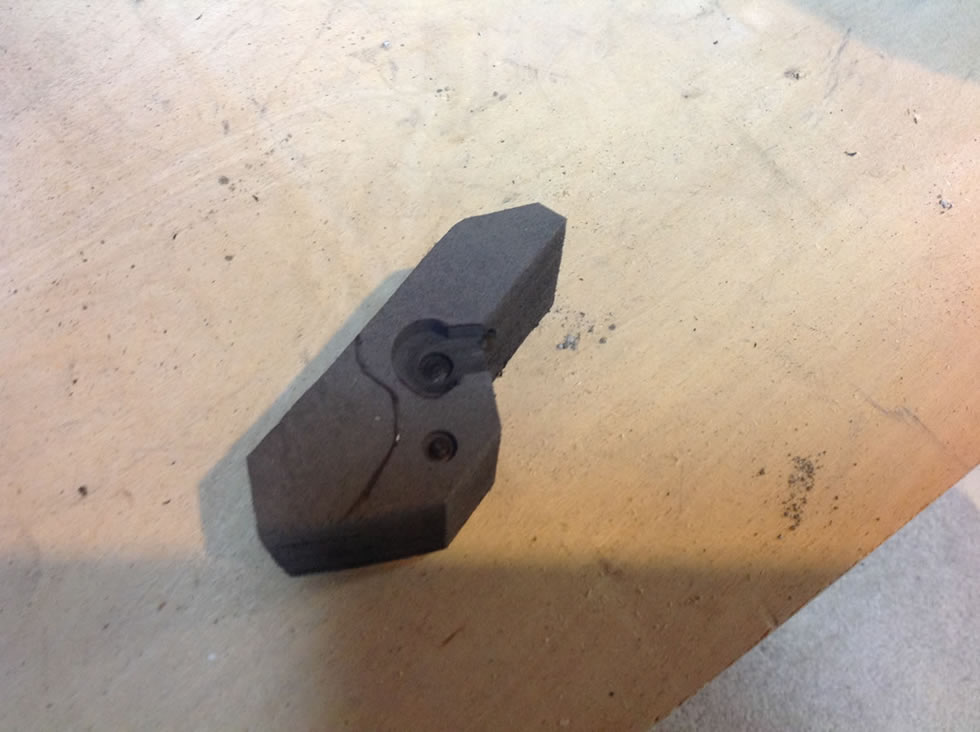
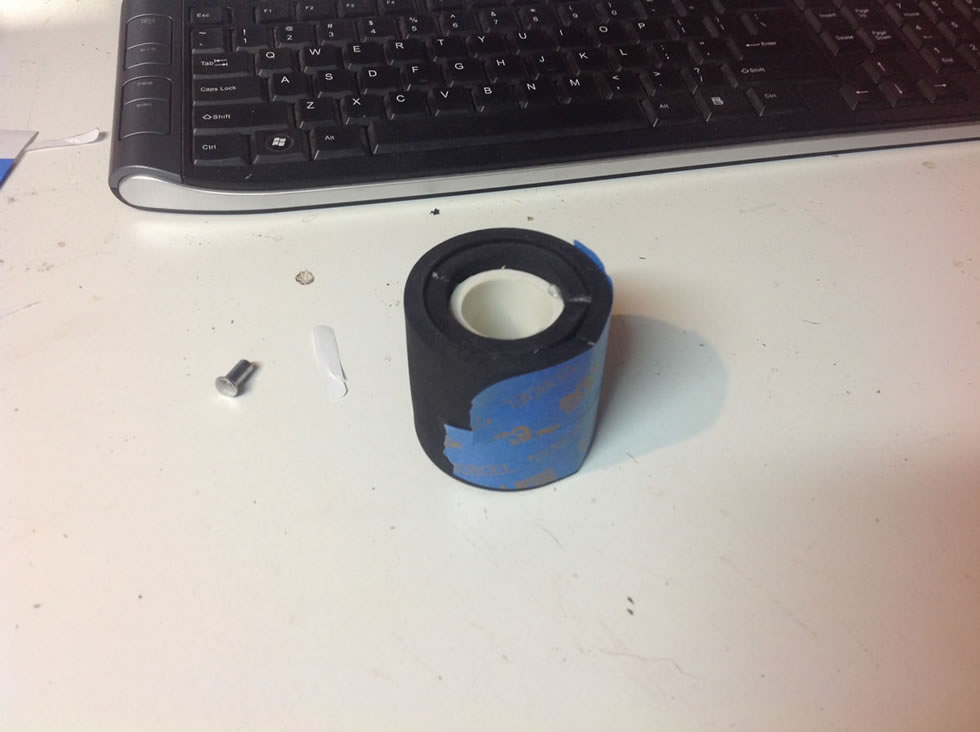
N7Crusader_0071Up next, I tackled something I hadn’t in awhile; a working pump action. I previously tried this on the M45 I built. It…sort of worked. The mechanism was solid, the problem I ran into was getting power to the red LED embedded in said pump action. The wire kept pulling loose and all other shenanigans, so I finally bolted it down. Anyway, I had wanted to try again, but my only other shotgun build, the Claymore, doesn’t have a pump action at all (it’s a single shot weapon) so, this presented an opportunity to try again.
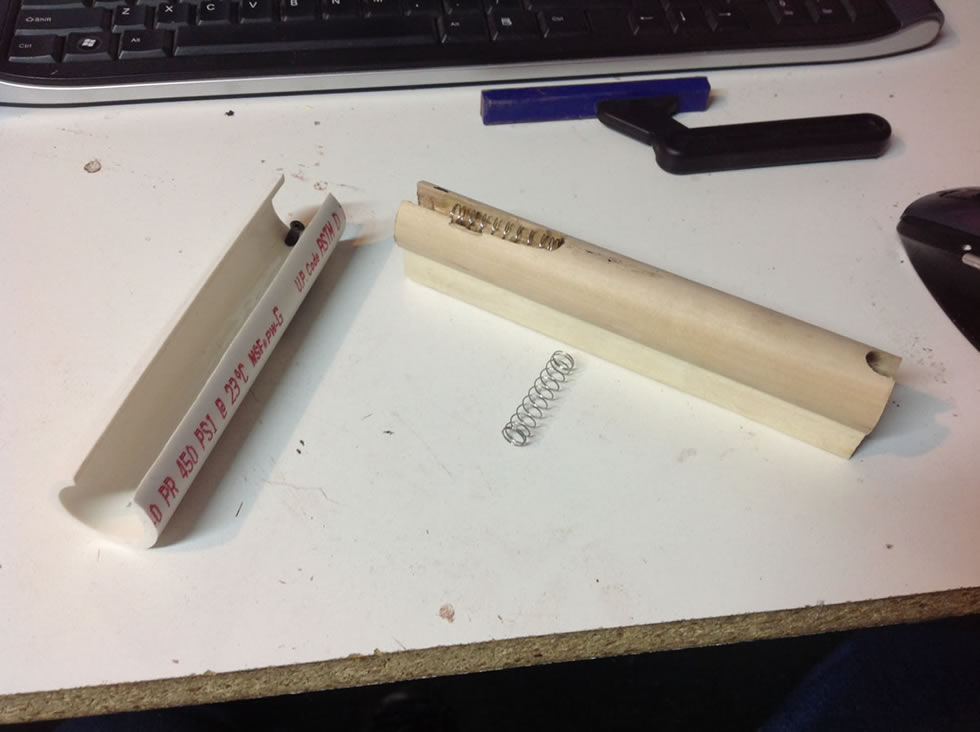
This time, the mechanism had to fit in a cylinder, which my balsa construction never could. Instead, I opted for a simpler method; 1 inch dowel makes the core, and a section of 1 inch PVC pipe makes the slide. It’s loose enough of a fit to work perfectly fine, leaving plenty of room for paint. I used my Dremel Trio in a slow, painful process to etch a slot into the dowel. The only dowel that would fit the pipe loosely (at my Home Depot anyway) was the oak one, which meant the cutting was slow going, even with a powerful tool like that. I then took the pipe and ran my Dremel cutting wheel through it length-ways, taking extra care to make the cuts straight, and at a vertical angle relative to the workbench, so everything would fit properly.
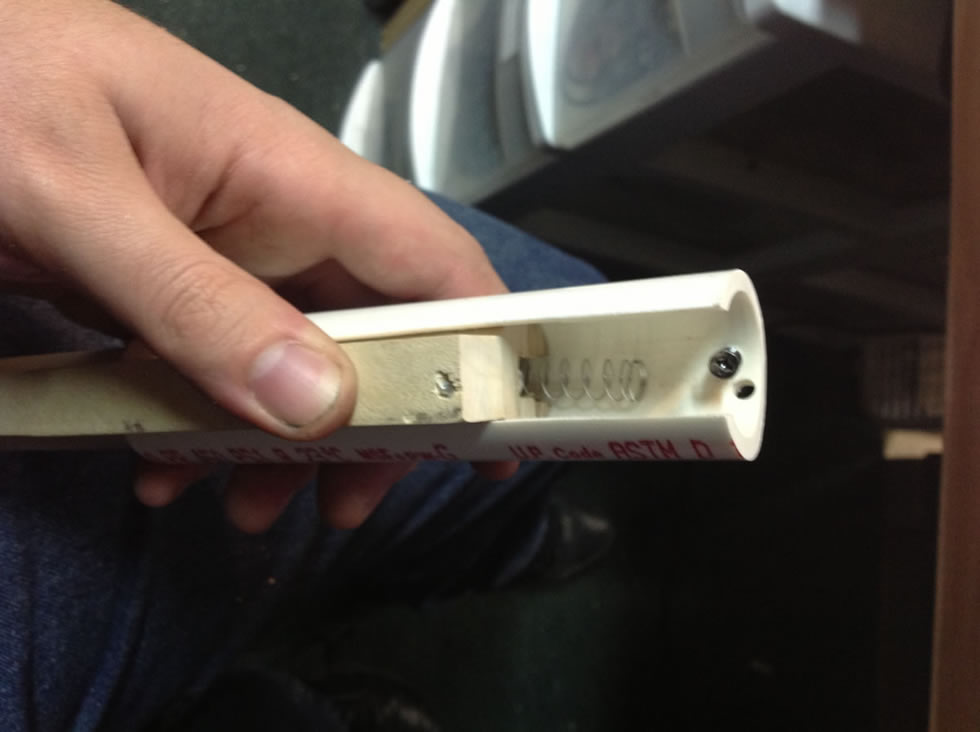
I then used my bench belt sander to grind flat the opposite side of the dowel, and the Trio again to cut two insets for screws. These corresponded to holes in a piece of square scrap I had, which was to be permanently glued (I realized from previous attempts at this that it would need to come apart for painting and maintenance.) to the body, and the pump action would then be screwed onto it. I put the whole thing together and they fit like aerospace components, which is always a nice feeling. I added a screw to the inside of the pipe to push on a spring, put in said spring, and slid it on. Worked like a charm.
Now, for the barrel. It worked well last time, so I duplicated the method used on the Claymore’s, though with a smaller pipe as a base. I glued on craft foam, wrapping it tightly around as I did, and taping it all shut once done. I ended up wrapping the thing in painters tape, which is not the ideal tape for such a task, but was all I had at the time. Unfortunately the foam bowed a little this time and I ended up with an uneven surface. I took the piece of inch dowel I had used for the previous part, and put two screws in, corresponding to the size of the piece, letting it spin between them. I then held this against by bench belt sander (Kids, do NOT try this at home) which ground down the outside to a smooth finish (with a LOT of noise.) After that, I used my little jig piece to carve in the 45 degree bevel to the end, and attached it.
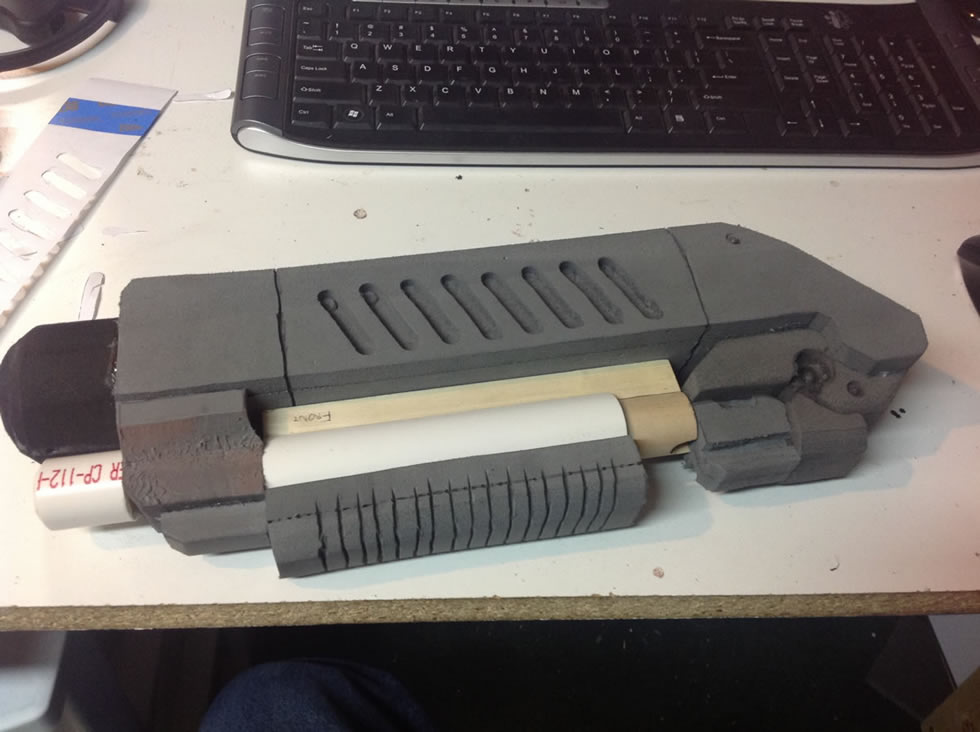
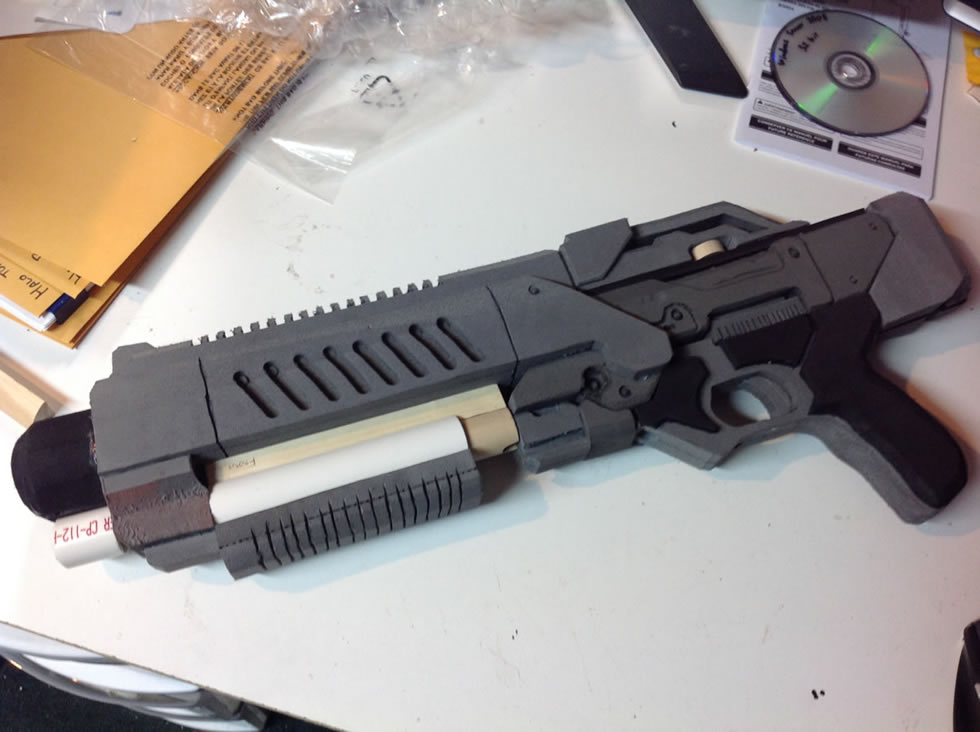
After that, I sandwiched a couple slices of EVA and made the pump itself, gluing it to the PVC. Finally, for the end of the breach, I beveled down a piece of 3/4 inch PVC, and then stuck it on the bench, end down, and filled it about 1/2 inch deep with hot glue. After an hour or so, I snapped it off the bench, leaving a solid plug of glue. This worked much better than previous attempts at smoothing the ends of dowels, it came out a lot cleaner, and involved half the effort.
N7Crusader_0099From then on, I used the same method as before, cutting the shapes, adding detail carving work, and gluing them on. Things were largely uneventful. Until I got to…
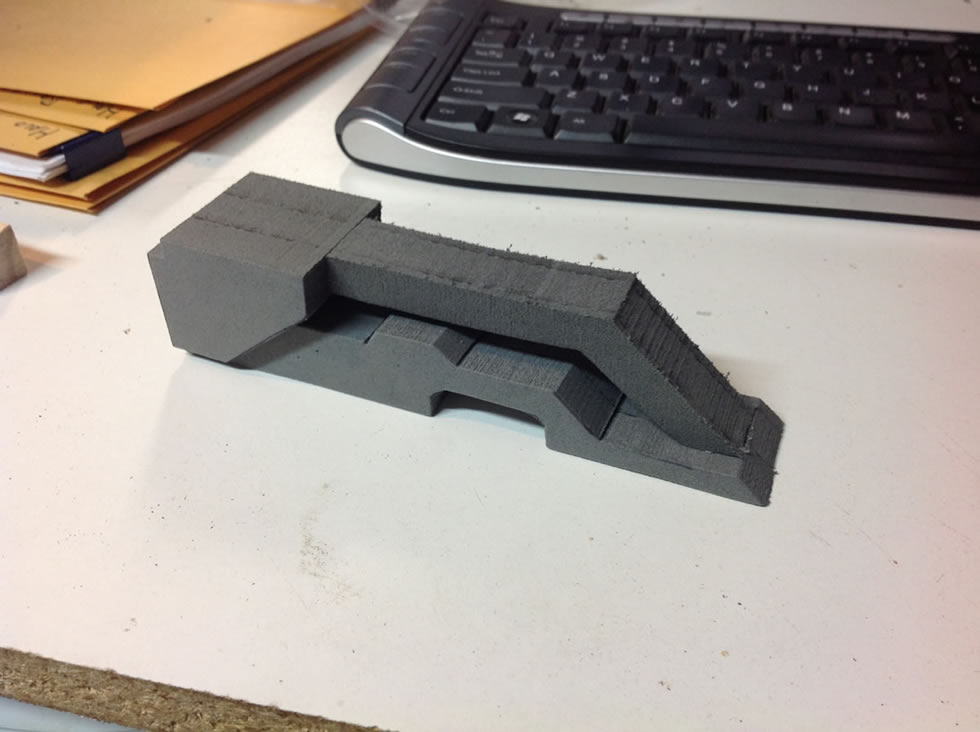
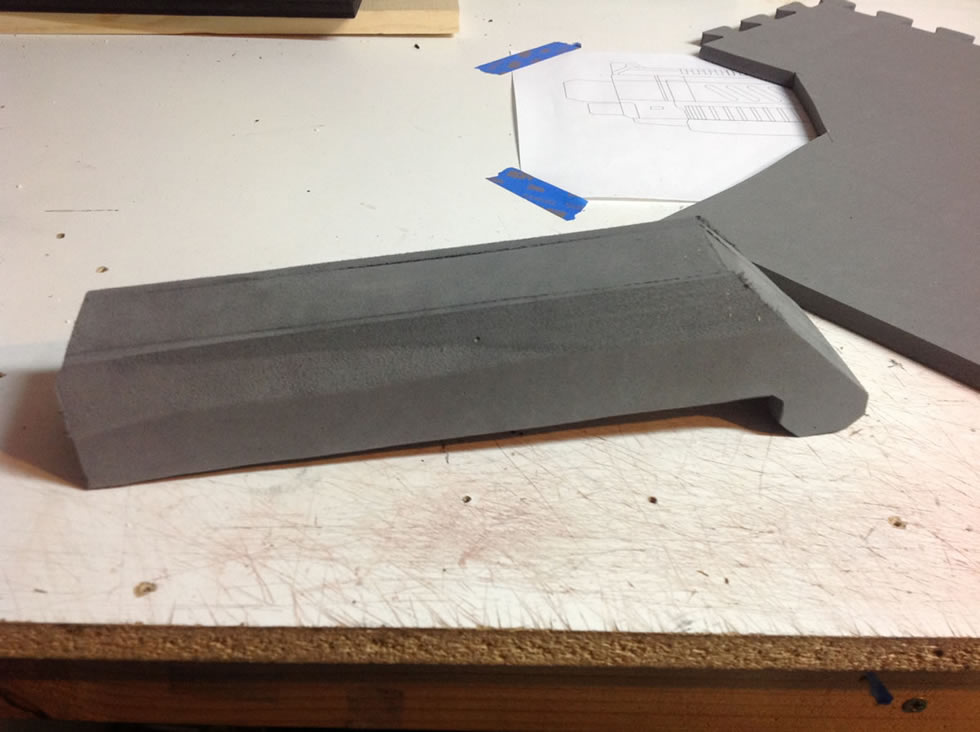
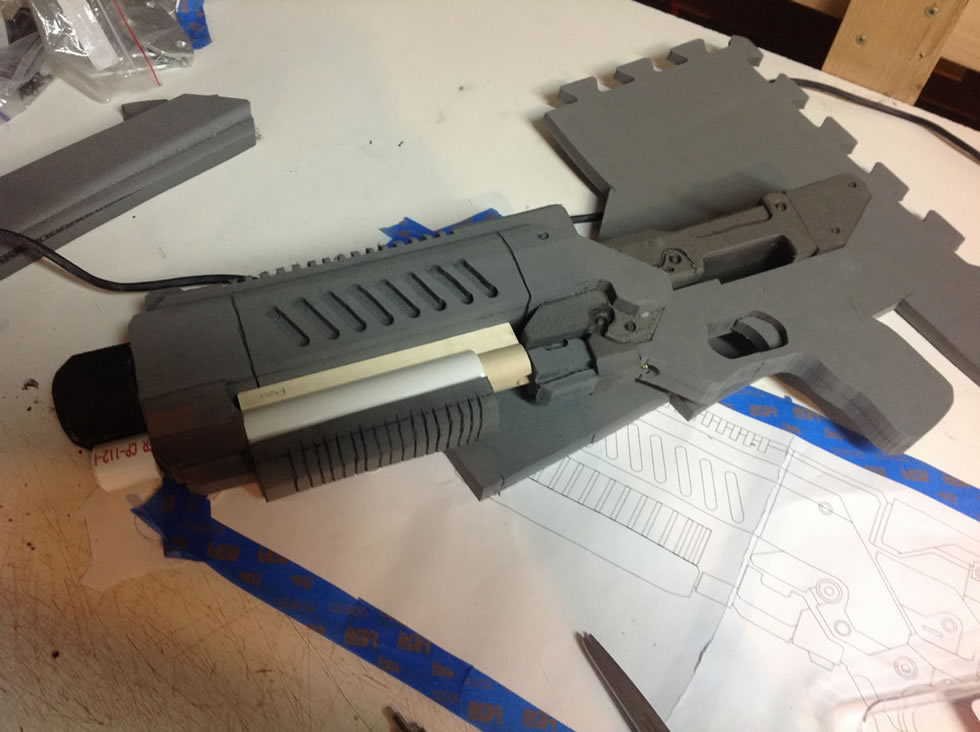
The back end of this gun, above the stock, has one of the most hair-pulling shapes I’d ever come across. When you look at it in a side view blueprint or schematic, or from the back as in game, it looks simple. Looking at it in the model viewer, this is what I had to reproduce. Overall, I’m exceedingly happy with it. The entire thing was constructed from a single sandwiched EVA section, cut up, ripped down, and re-glued. It was then given beveling work, some grinding work, and finally, a section of dowel in the lower void (in line with the model). I don’t know why Bioware felt the need to put a round piece in there, but whatever, I met the challenge.

So, currently, the project is halted until the spring kicks in and I can get painting. In the meantime, I have an N7 Eagle to build, a Revenant assault rifle, and set of N7 Armor. Stay tuned.